| Home | Newsletter | Locations | Diary |
|
Indexes |
|
|
|
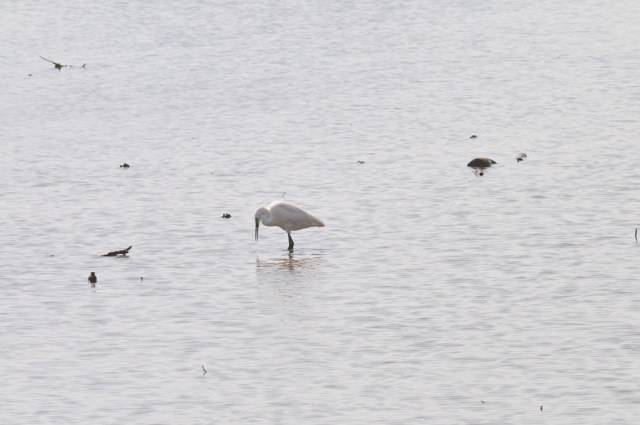
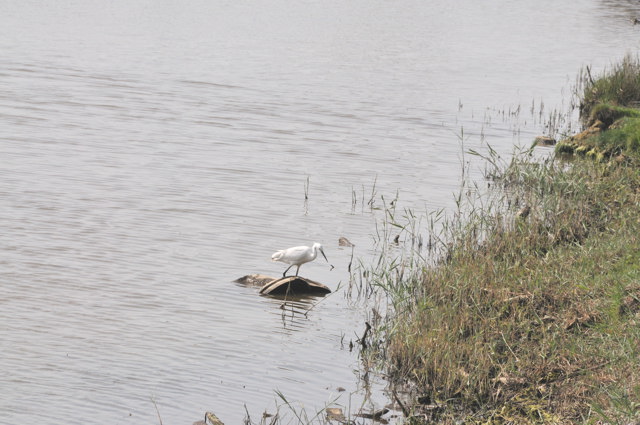
Article Teleconverter Practical Day To demonstrate the use of a teleconverter in a practical way, we decided to take one, as well as 18-200VR, 80-400VR lenses, a 1000mm mirror lens. Our objective was to look at photographing a moderate sized bird that was moving about from a distance, and to not use a tripod. Although we did have a tripod with us for other shots. The teleconverter we are using is a low cost x1.7, its not a Nikon teleconverter as this would not be compatible and connect up to the 80-400VR lens. The loss in light is about
1.5 stops, and this means it converts the lens from being a 400mm f5.6 to a
680mm f9.5, see the article on
teleconverters
These increases are independent of the effect we get from the DX sensor size, this is what it would be on a Nikon D3 or a 35mm.
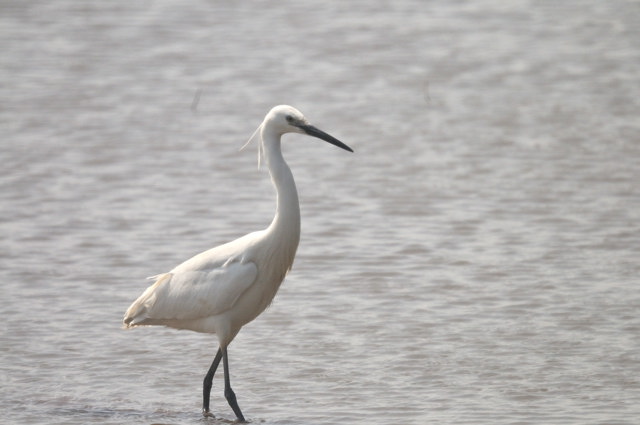
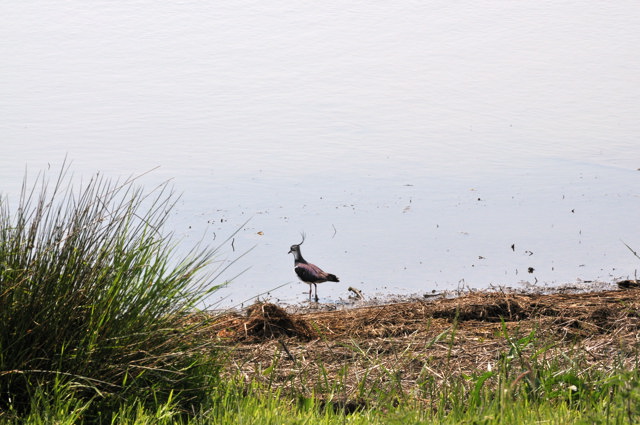
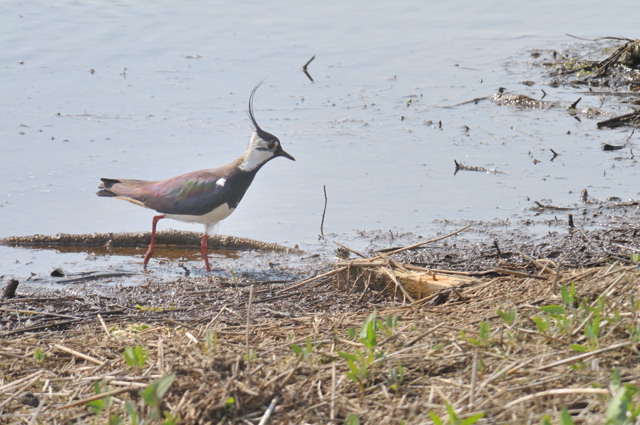
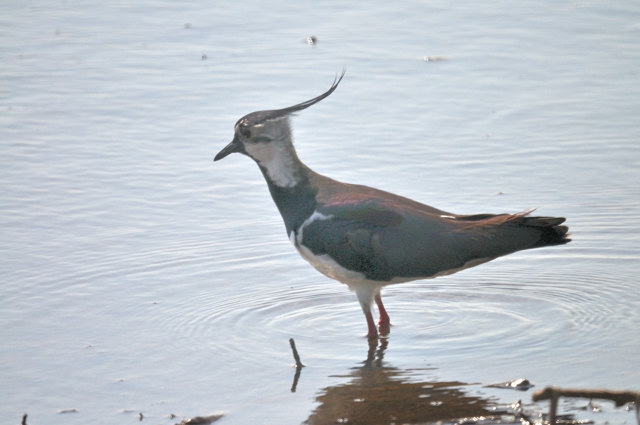
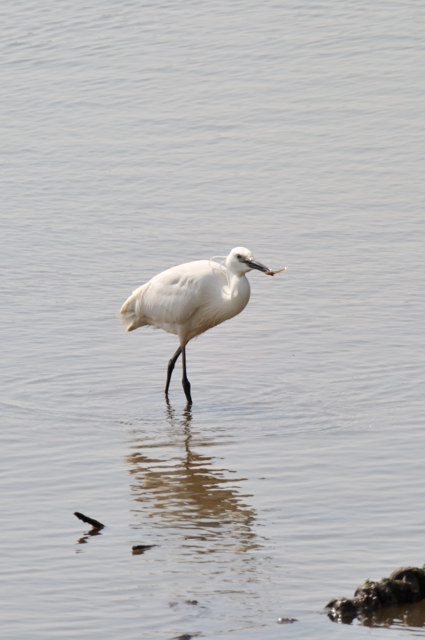
So with the x1.7 its like going up to Nikon D3, Canon D1s Mk3 or 35mm user and saying how would you like a 1020mm lens that will autofocus and is stabilised. We used it completed hand held, no monopod, resting on hide sills etc. We also took along a 18-200mm VR lens, and a 1000mm mirror lens. The 1000mm is manual focus and unstabalised but we rested it on the hide sill rather than using a tripod. We had hoped to use it fully hand held but we could not hold it steady enough to keep the bird in the shot, and it was also quite difficult to target it again once it was out of shot. We also have a 800-1300mm zoom but did not take this with us for this test as its only practical to use fully stabilised on a tripod with an additional stabilising bar, and you can't use this with moving subjects. Being used to using the 80-400mm, using it with the teleconverter presented no problem it was not noticeably different in size or weight and stabilised well. Autofocus worked well and the image was bright. So from a usage viewpoint there were no problems. The bird we chose to experiment with was a little egret, it continued to move about feeding, working in several circles, so coming closer and moving away further. We also took photographs of a lapwing using the same arrangement. One of the problems of course is that the birds involved are moving around, sometimes nearer sometimes further away but lets look at some shots at the same distance to get an idea of how close we get with each lens. In each case I have not sectioned the image (until after the line) and if you click on any image you will see a larger version. Bear in mind of course that you are looking at a small, Jpeg that has no real representation of the quality of the full image.
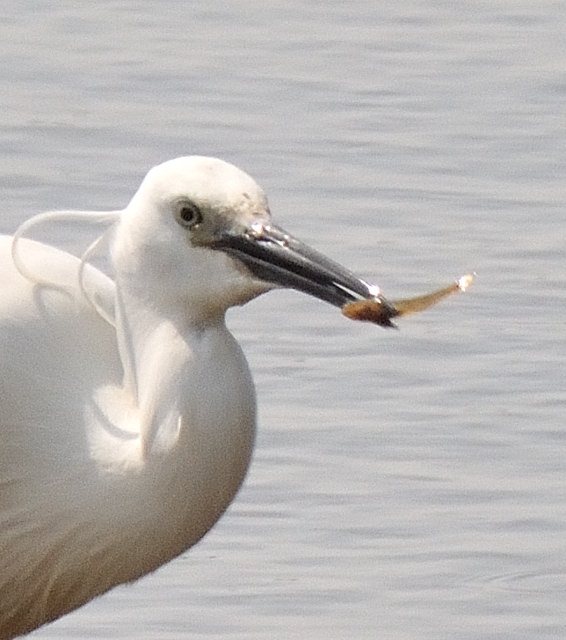
Now lets look at the detail we can get out of an image taken with a teleconverter. Remember still this is not truly representational in that you are looking at Jpeg images not the original larger high quality images, but it does give you a fair idea.
Reliability and ease of use
The 400 + teleconverter was a f9.5, while the 1000mm was f11, with the teleconverter system I still had autofocus and a stabiliser and was able to use it without resting on anything. The teleconverter is also small, low weight and low cost, and although I did not get as large an image with this as with the 1000mm, there was more scope to enlarge the image as it was a better quality. Other means of getting a closer look It is of course important to remember that we can always section images, so unless you need a poster sized print, you can get larger or closer views in many cases by sectioning, as a rough guide cutting the megapixel size in half is about the same as a 1.5 times increase in focal length. So if you use a 10 megapixel camera and a 400mm lens and want to get the image you would with a 600mm lens, then you end up with a 5 megapixel image when sectioning, large enough to produce a good 19 inch wide print. Add a x1.7 teleconverter to the 400mm and you are back to 10 megapixels at 680mm, or section again and you have just over a 1000mm at 5 megapixels. So before taking out a second mortgage for that extra long lens, stop and think not only how long you really need but also how large do you want to produce prints.
See also the
article on teleconvertors
|
|||||||||||||||||||||||||||||||||||
|
|||||||||||||||||||||||||||||||||||
|
|