| Home | Newsletter | Locations | Diary |
|
Indexes |
|
|
|
Article Software to Make 3D ImagesThis is one of a number of
articles we have on 3D, take a look at our
3D Section
Creating the 3D images
Having got our two
images we need to put them together and look at how we present them as a 3D photo.
We could
edit them in Photoshop, but for most situations there are simpler solutions
that involves no cost as there is free software available to handle this.
Some of these programs are very simple to use, and from a single pair
produce all the variations of 3D that you would want, while some other
programs do a great deal more. The one I prefer is
Annabuilder,
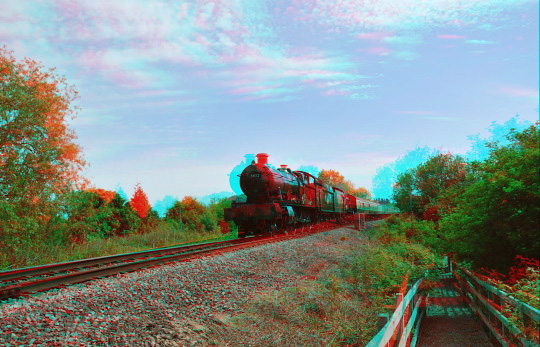
The easiest screens to work with are the Anachrome/anagraph, and I usually work in red and cyan (blue/green), in this format you can see the two images one on the other with the coloured fringes, and I can rotate, zoom slightly and move the images in relation to each other. Having got the images straight, and the same size I then have to decide what I want to be behind or in front of the screen. Images that have depth going back into the screen look far more realistic, but its likely that you will want some parts of images to be projected in front. You set the screen plane by adjusting the image so that they exactly overlap at the screen, so no fringing at that point. You can therefore move items forward or backwards. Once I have this as I like and have tested the images using the coloured glasses to see its works well. I can decide what format I want the 3D images in, for example if I want a pair of side by side images or a Anachrome/anagraph, the program can create these and other formats. With the Anachrome/anagraph images I will often de-saturate them and apply de-ghosting and other filters that are built into this software to get the result I like best. Moving beyond this If you want 3D text then the easiest way to do this is to first work with just text, you just import images of the text, and move them so as to get the relative depth that you want. Saving this, cutting it out and later adding it to the image in Photoshop may be the simplest approach, although you can note the shift, and then go back and add the texts to the images before they are made into 3D, with the text sets offset by the known amount from a reference point. Some of the software has a lot of experimental filters, and ways that you can adjust the image, including de-saturating the filter colours. You will need to try different programs and different effects to see what you like best. In addition there are programs that de-ghost the images, and these may be useful if there is not one of these filters in the software you are normally working with. Software programs are available from:-
www.tru3d.com/technology/3d_displays.php?file=Software
www.stereoscopy.com/downloads/index.html
www.pokescope.com/software/PokeScopePro24.html
We have a number of 3D projects which take you through the process of taking the images and then you can use within these pieces of software to create your own 3D images.
3D 2 Camera Portraits with Flash
See Also our
3D Section
|
||||||
|
||||||
| . | ||||||
|
||||||
|
|