| Home | Newsletter | Locations | Diary |
|
Indexes |
|
|
|
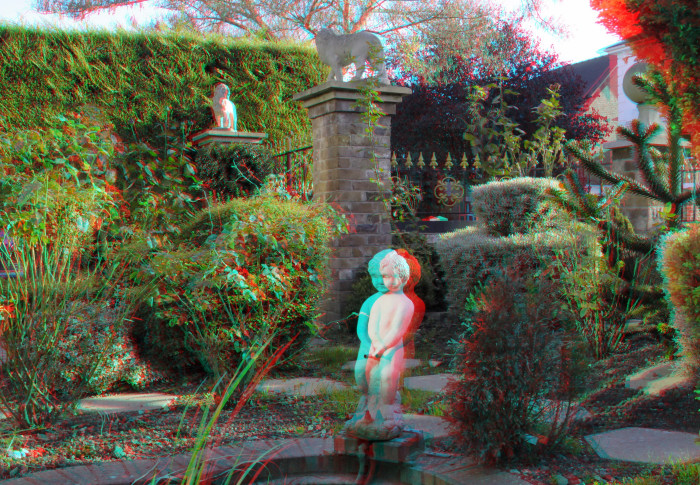
Article Project - Taking a 3D Garden ShotThe objective of this project is to gain experience in 3D photography with what is often the normal subject distance for 3D photography, with nothing too close.
In order to do this you will need:
The process is fairly simple:-
Deciding on the photo composition Ideally we don't want anything too close to the lens, so perhaps around 2 to 3 metres to the nearest items and we don't want any extremes in the background distance either. If we can we would like to use a 35-80mm lens, so that the image is similar to what we would see with our eyes. The more we have at different distances the greater the 3D image effects will be. Work out the settings as if we were taking a single photo We want to
determine the
aperture, Having decided on the other settings make a test shot to make sure you are happy with this and then make a note of the settings. Work out the Stereo Base The stereo base
may be able to be guessed in this situation, if you have a normal'ish
length lens, then taking two photos with the lens shifted around the
distance between the human eyes will work, it will also work larger than
this increasing artificially the 3D effect. As we move away from the
40-60mm range the need to determine the best stereo base becomes more
important. See the article
3D
Photography Stereo Base
Set the camera to Manual Now set up the settings you noted before, use manual rather than the other setting, so the two images are taken with the same settings. Take the left image I always suggest people get into the habit of shooting left then right, also with panoramas shooting from left around to the right, just simplifies things, you know with a set the sequence they will always be in. If you are taking several versions of a stereo pair then its a good idea to put a marker between them, this could just be a photo of your hand or something. Slide the camera and take the second image Slide the camera sideways, being careful to keep it parallel and not to mess up any of the settings. The amount to move it sideways is the stereo base figure you worked out above. The second photo is taken with the same settings. Often in practice I take the left image then take several right images increasing the distance from left to right, this means that afterwards, back at my desk, I have a choice of stereo bases to work with. Create the 3D image with a software package
I suggest in this case that you use
Anabuilder, its free and its the one I often use. You can see more
about it with a link to download a version for yourself in the article on
Software
to Make 3D Images.
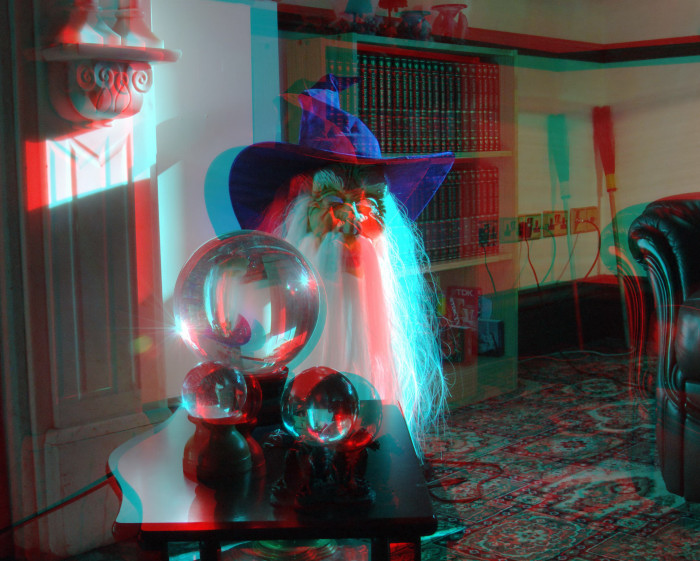
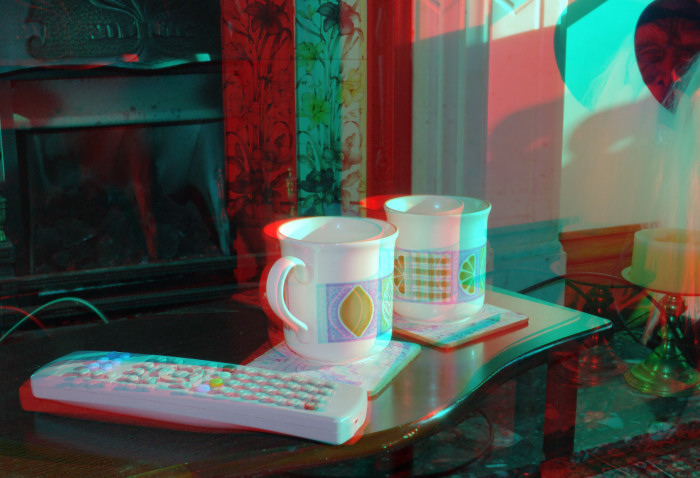
To start with make the images go back beyond the screen or page, this is achieved by sliding the two images so the front items lines up. Once you have mastered this you can play with items that stick out of the screen, but this tends to be more difficult to get right. Try also sliding one layer on another while you view it with 3D glasses and you will see the effects you can get. What have we achieved I would hope that you have a 3D image that you can see with the glasses on screen, can print out and using the glasses allow others to see. You will also have gained an insight into 3D, its not as difficult as many imagine, and maybe it will encourage you to experiment with it more. You can also take 3D scenic photos far simpler hand held, and once you have gained the basics you can go on to more. Remember that every photo is also potentially a free standing photo as well as a part of a 3D set, so when out sometimes you can take photos that may or may not be used as a 3D image, deciding afterwards. If you want you can expand this project to take further shots either outside or inside, such as the ones below.
See Also our
3D Section
|
||||||
|
||||||
| . | ||||||
|
||||||
|
|